Making Quality Products Since 1959
Tru-Weld Stud Welding has been making quality Weld studs since 1959, and since 1970 we have been producing our own line of high-quality Equipment for stud welders. Tru-Weld is located in Medina, Ohio and has Locations across the nation. Our 155,000 square-foot facility allows us to stock many of the common lengths and diameters to help ensure a faster delivery time.
Tru-Weld Stud Welding has been making quality Weld studs since 1959, and since 1970 we have been producing our own line of high-quality Equipment for stud welders. Tru-Weld is located in Medina, Ohio and has Locations across the nation. Our 155,000 square-foot facility allows us to stock many of the common lengths and diameters to help ensure a faster delivery time.
Quality Equipment
Professional Services
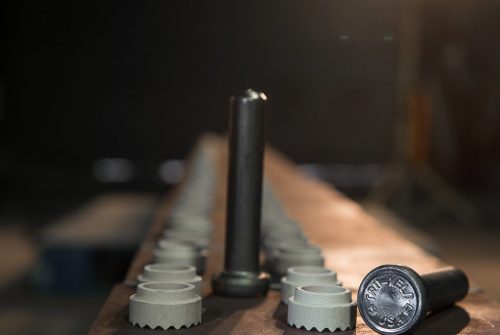
Weld Studs
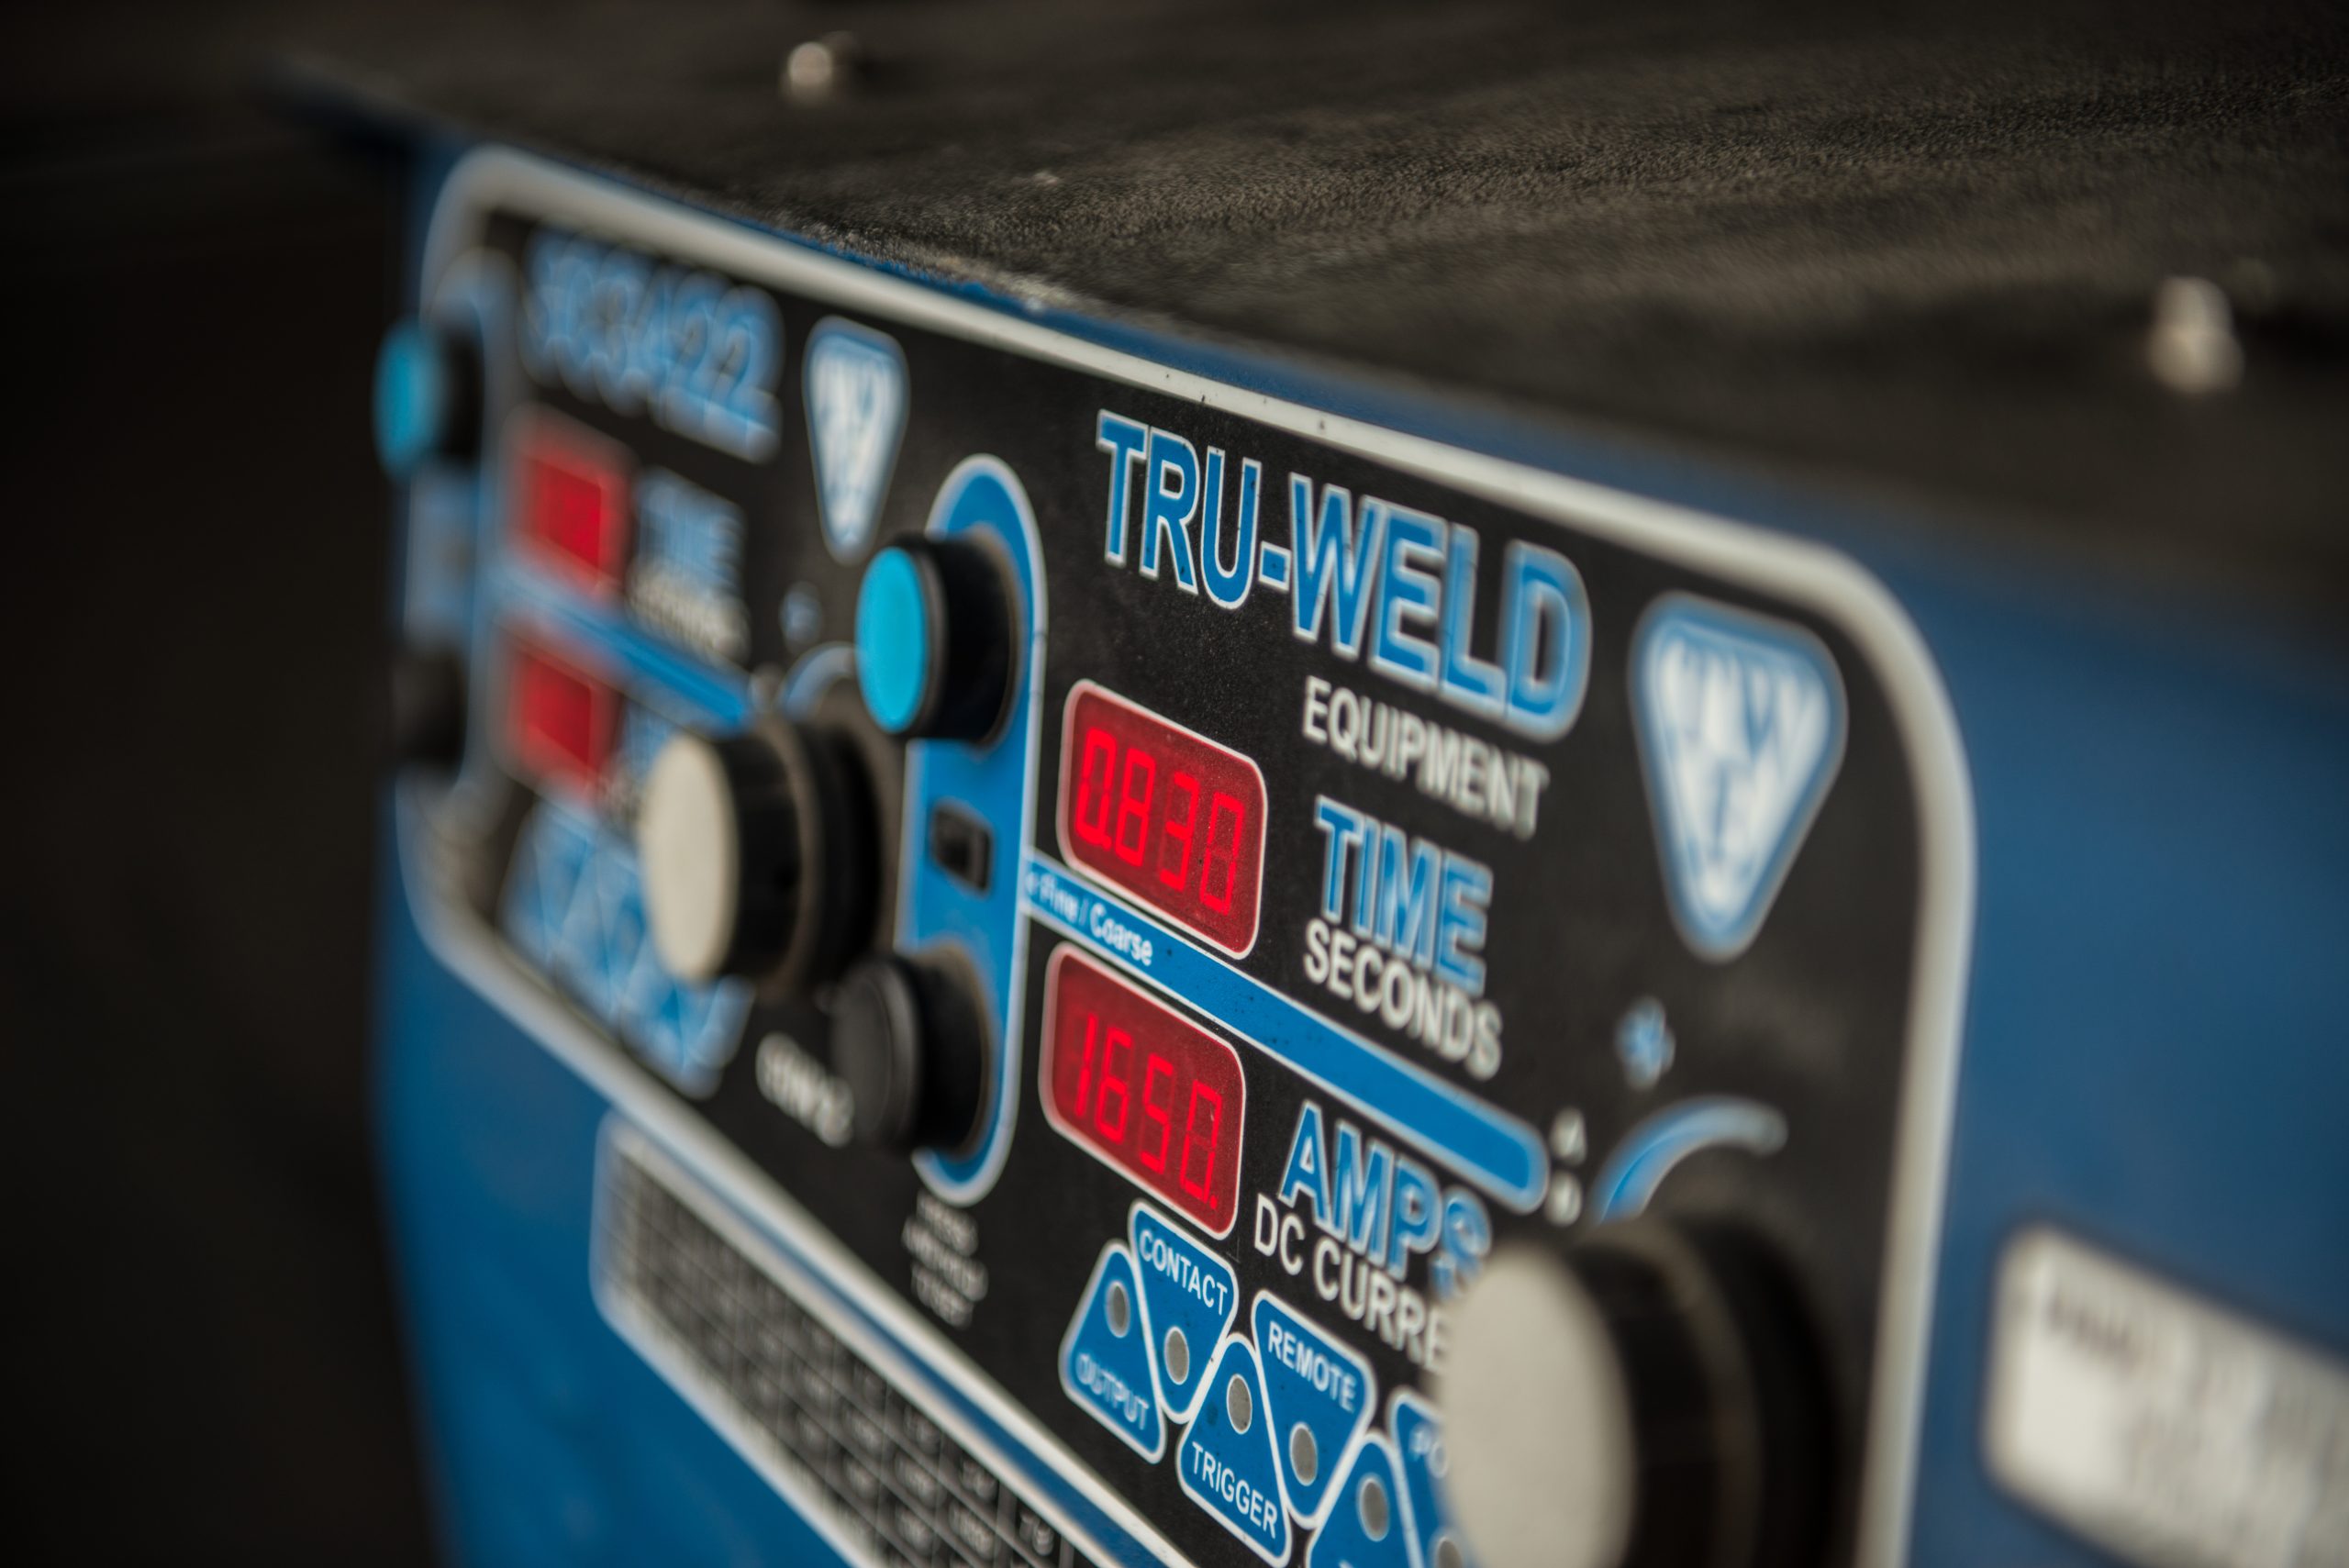
Equipment
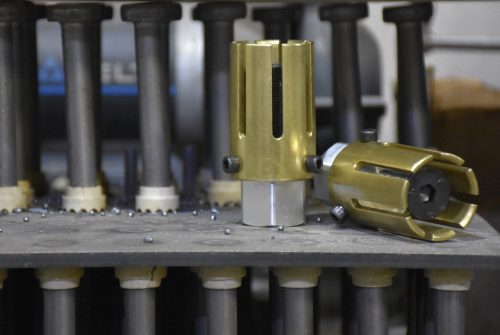
Accessories
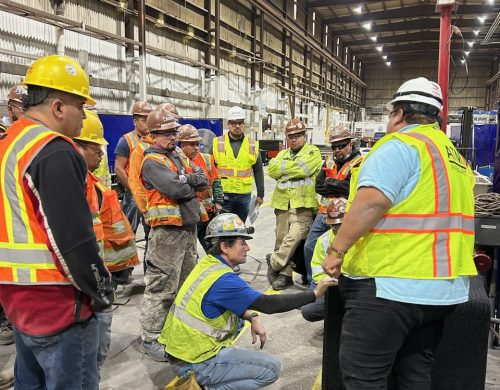
Certification & Training
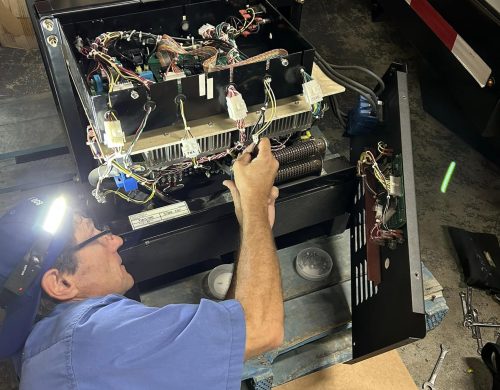
Calibration & Repair
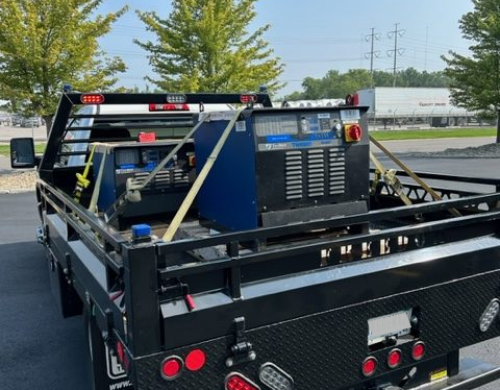
Rental
About Us
Founded in 1928, Tru-Fit Products started as a cold-form manufacturer located in Lakewood, Ohio. After thirty years of growth, The Tru-Weld Division was in its early planning stages. In the mid to late 1950s “stud welding” was on the rise due to new and cutting edge technological advancements in the engineering and manufacturing fields. The requirements for higher strength fasteners were in demand to be utilized for the auto, construction, aerospace, marine, and military/defense industries.
Formed in 1959, Tru-Weld was created to cater to the growing market for these custom, high-strength, application-specific weld studs. Growing to a total of 25 employees, under the direction of President Harry Workman, Tru-Fit Products began to slowly make the move to Medina, Ohio in 1970. The move was staged to happen in several phases as to not disrupt workflow. Due to the weight restrictions of road transportation, most of the equipment was moved by rail car to the new 155,000 sq. foot plant in Medina.
Since moving to Medina, Tru-Fit Products has continued to expand. In 2012 an addition was added to allow for more racking space. In 2016 an additional 12,600 square feet of manufacturing floor created space for two new cold formers. Now in 2024 construction continues on additional square feet to allow for more storage and additional manufacturing capabilities.
