
Weld Studs
Tru-Weld manufactures and stocks a full line of weld studs in mild steel and stainless steel for any type of application.
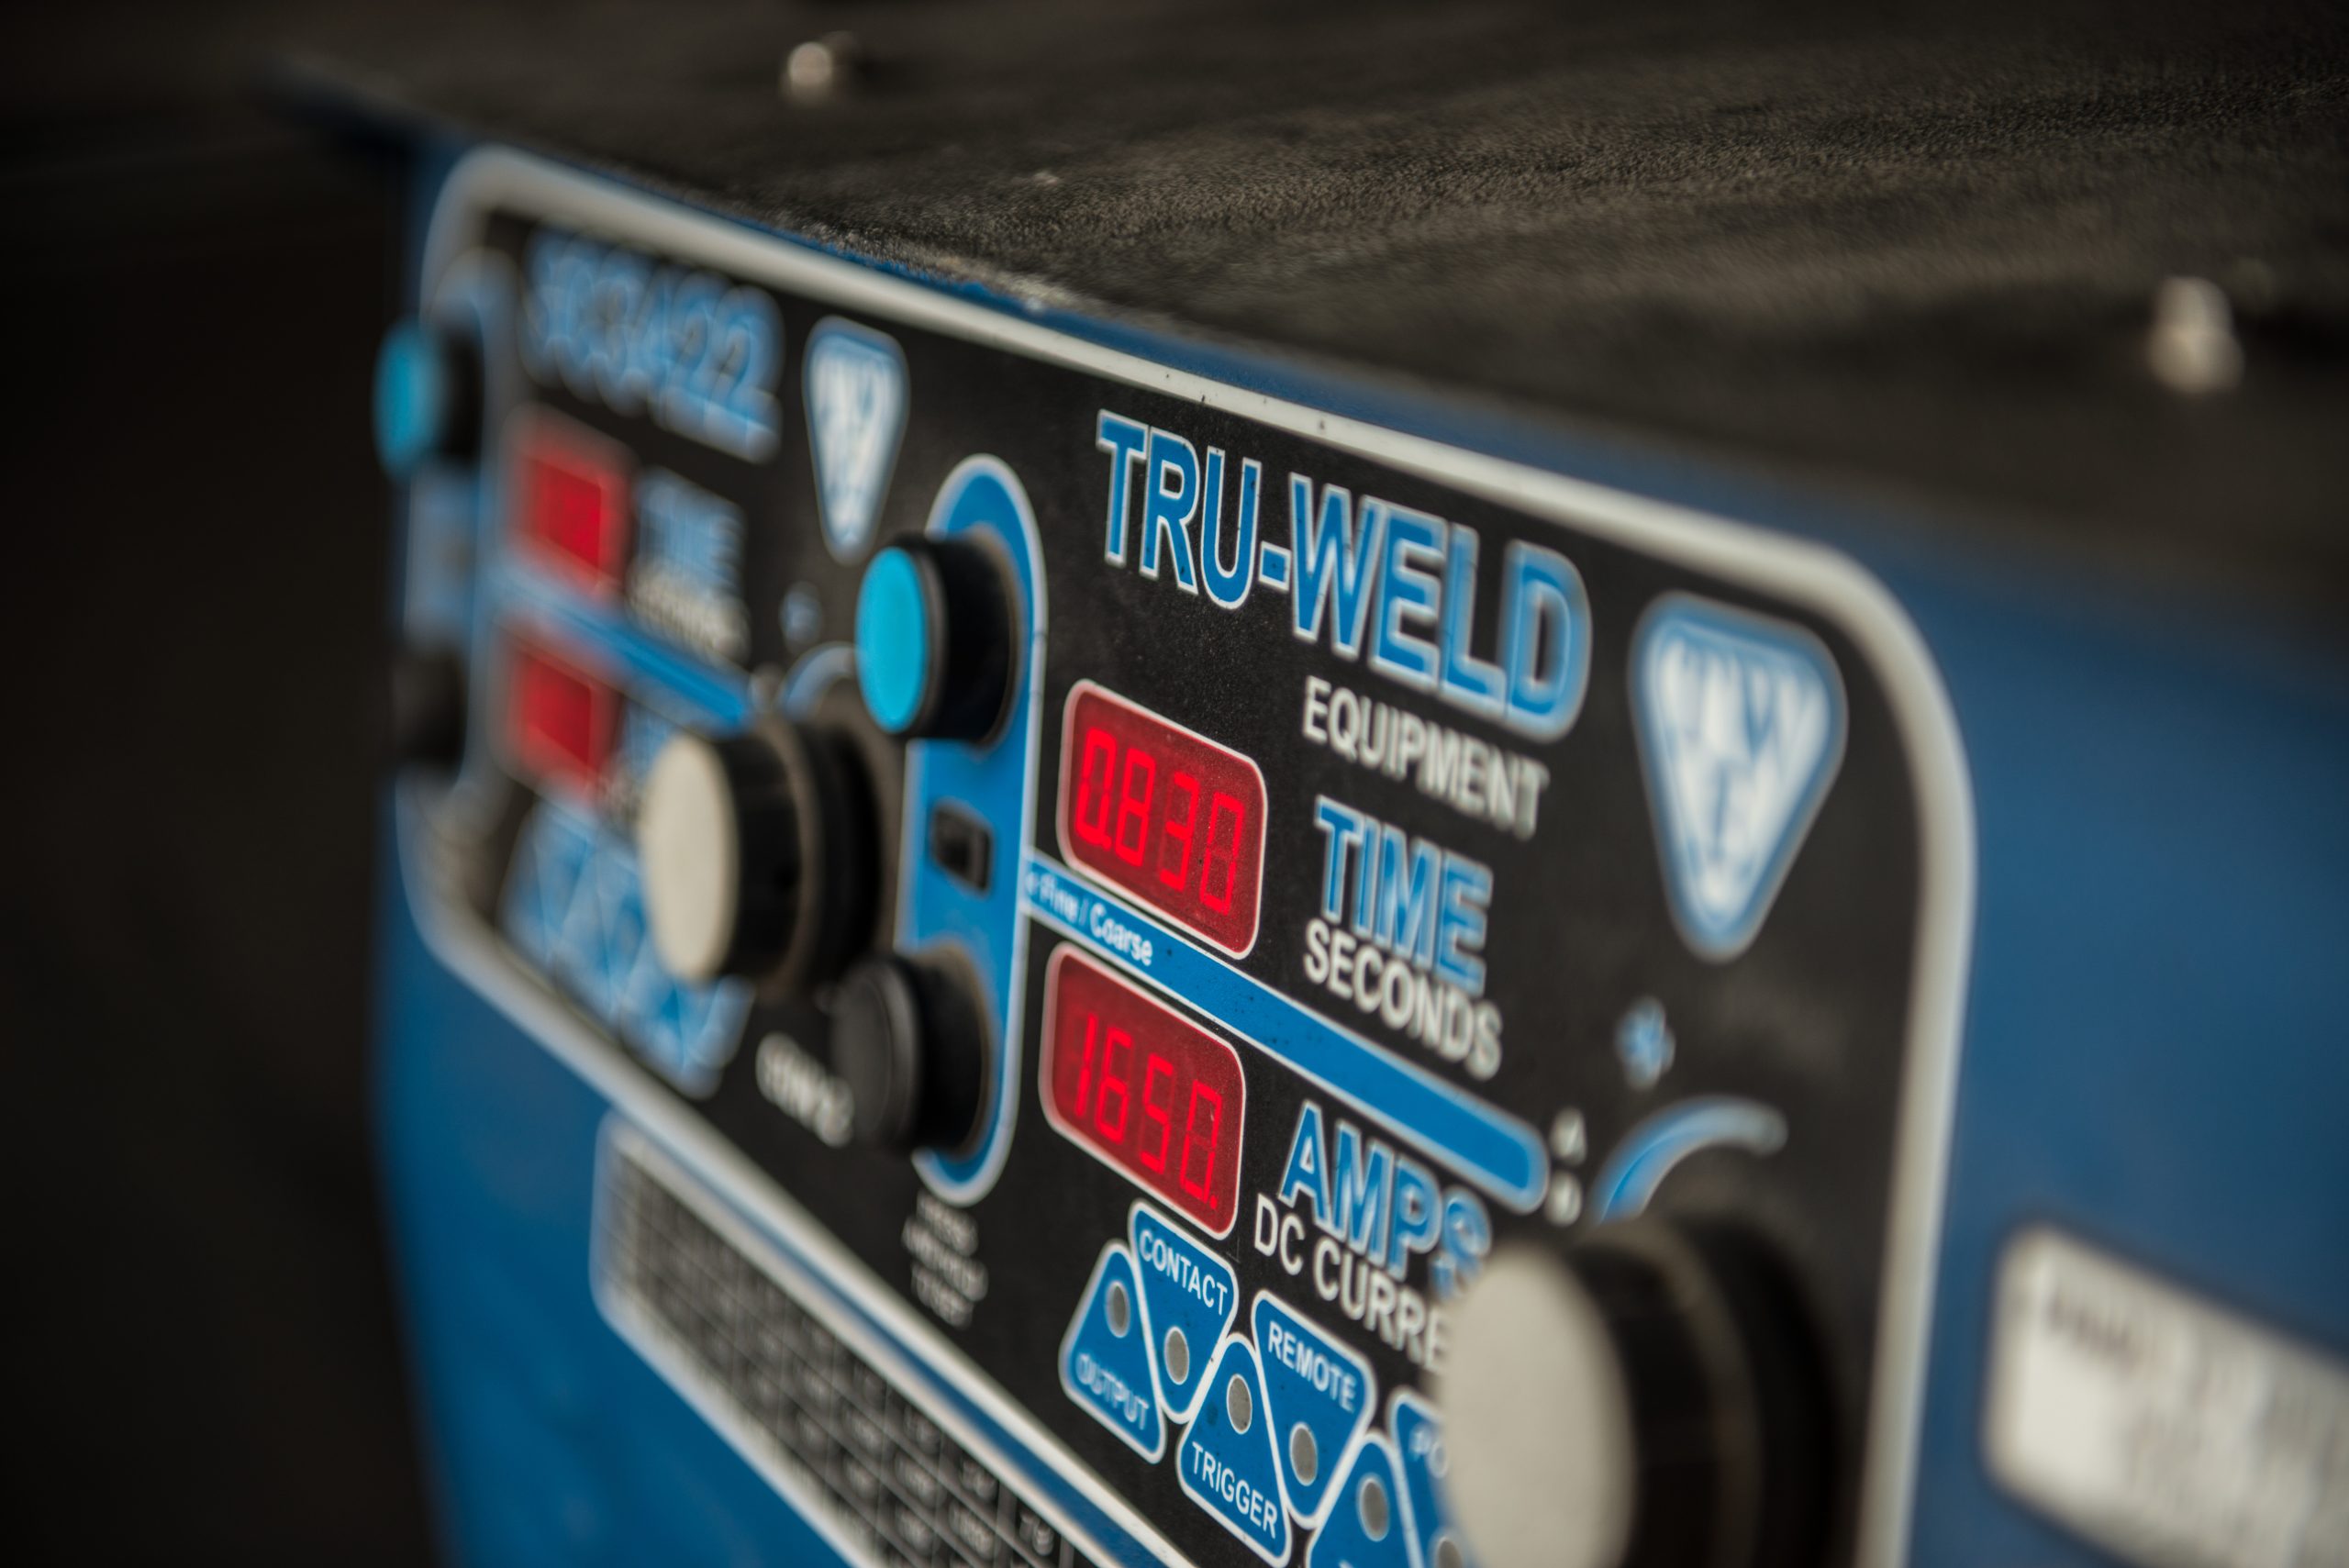
Equipment
Tru-Weld Equipment manufactures a full line of stud welding equipment for any type of application.

Accessories
Tru-Weld Equipment carries a full line of stud welding accessories for any type of application.

Certification & Training
Tru-Weld offers a variety of training and certification solutions for your team to make you succeed in any application.

Calibration & Repair
Tru-Weld offers a variety of calibration and repair services for your Stud Welding Equipment for any type of application.

Rental
Tru-Weld offers a full rental fleet of Drawn Arc & Capacitor Discharge units to get you & your crew ready to weld for any application.